Running Jenkins in a cheap Lighsail instance
In this post we are going to create a Jenkins machine, instead of starting from the very scratch, we are going to use the machine we created and hooked up with Wire Guard in this post post
![]() Jenkins, a helpful fella
Jenkins, a helpful fella
Important note: You do not need to have WireGuard, I’m using it because I want to have everything secured behind my VPN instead of doing manual IP restrictions in LightSail. WireGuard offers IP Roaming, so that way I don’t need to worry about the network I’m in, the communication is always encrypted… You can also install Jenkins in an EC2 instance in your VPC, the instructions are pretty straight forward. As OS we are using Ubuntu.
First, Install Java 8
Jenkins runs on top of Java JDK, so we are going to install OpenJDK in our machine.
Add the repository where OpenJDK lives on and update your apt-get:
1
2
sudo add-apt-repository ppa:openjdk-r/ppa
sudo apt-get update
Install Java JDK 8
1
sudo apt-get install openjdk-8-jdk
Jenkins Installation
We are going to use the WAR version of Jenkins because it is very easy to set up:
Download Jenkins War
1
wget http://mirrors.jenkins-ci.org/war/latest/jenkins.war
Run Jenkins WAR
1
java -jar jenkins.war httpPort=8080
Now, Jenkins will start setting up, the first time you run it will show the Admin password:
1
2
3
4
5
6
7
8
9
10
11
12
13
14
*************************************************************
*************************************************************
*************************************************************

Jenkins initial setup is required. An admin user has been created and a password generated.
Please use the following password to proceed to installation:

<THE PASSWORD>

This may also be found at: /home/ubuntu/.jenkins/secrets/initialAdminPassword

*************************************************************
*************************************************************
*************************************************************
You allways have it accesible in /home/ubuntu/.jenkins/secrets/initialAdminPassword
Now you can go to your favourite Web Browser and go to this address:
1
http://10.0.100.60:8080/
Obvious consideration here: If you did not follow the WireGuard set up in the instance or you do not have it, you will need to go to LightSail, and add a connection rule for port 8080 and access something like http://PUBLIC_IP:8080
Once you insert your administrative password a screen will show you the installation options for customizing Jenkins:
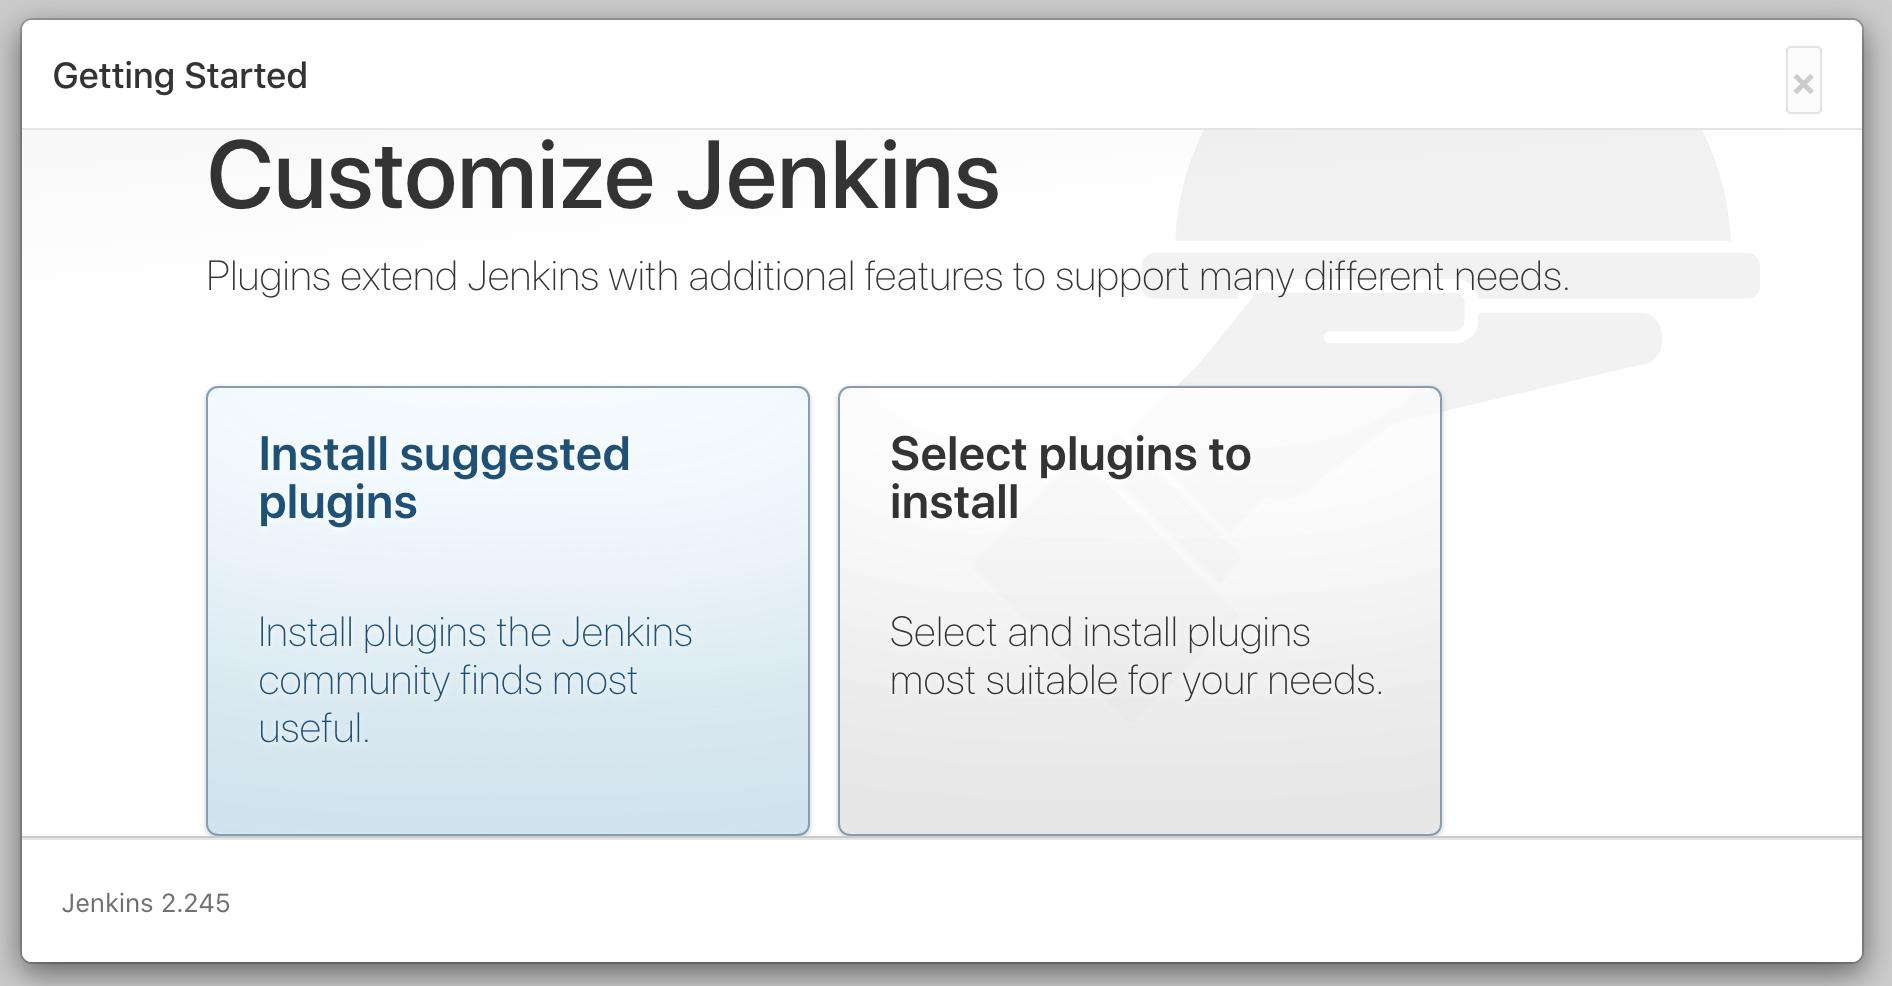 Customize plugins screen
From this point all will be really up to you, depending in your needs, you can add the plugins later on, so I will for the Install suggested plugins
Once the plugins are installed you will be asked to create your admin user, and then all is ready to go!
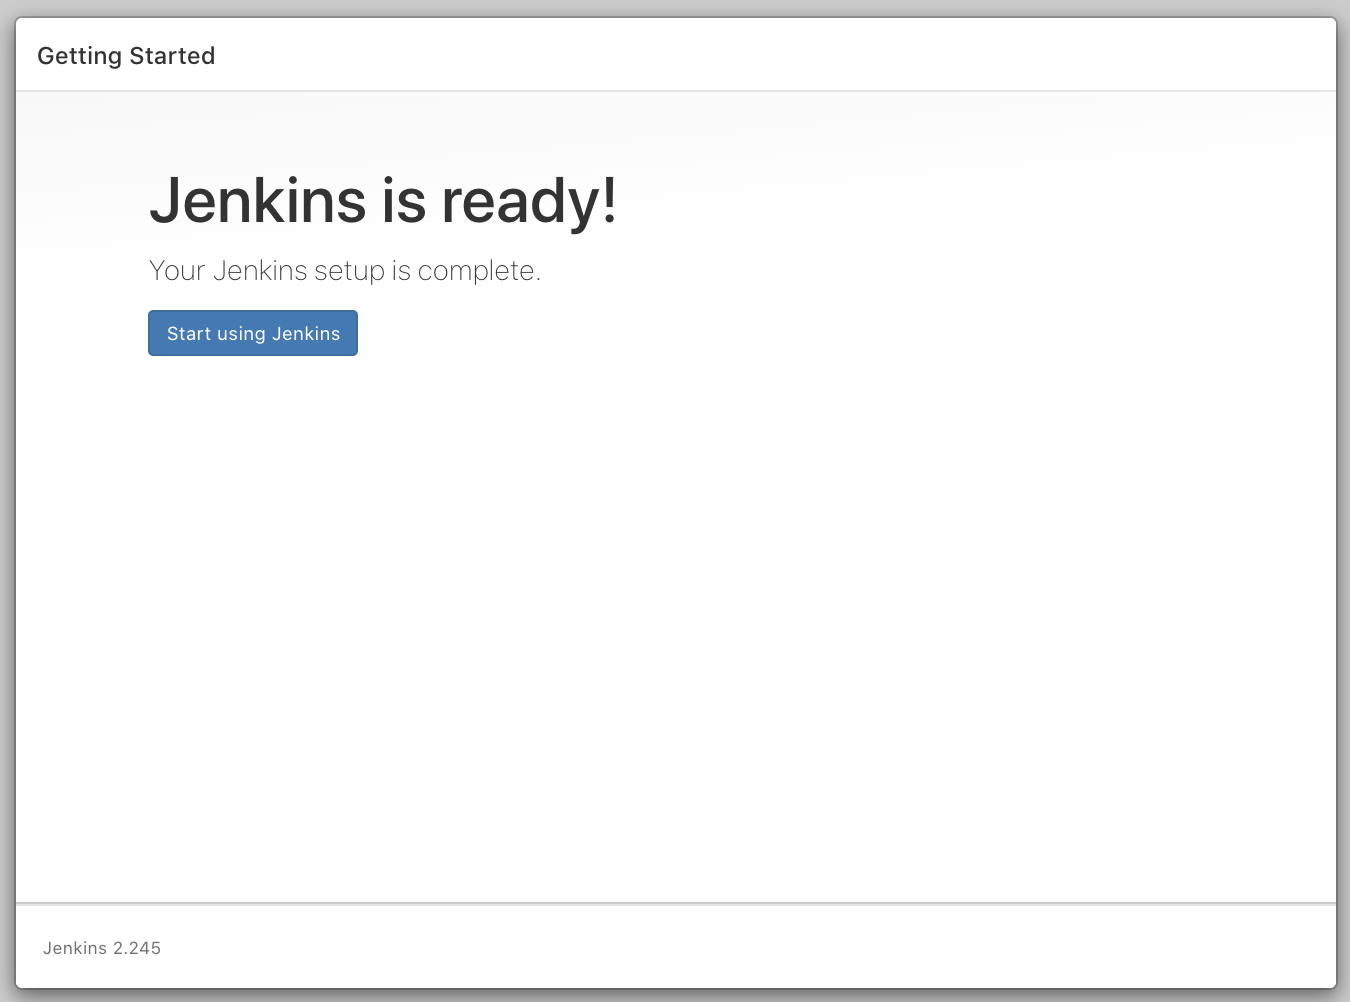 Jenkins is ready now
IMPORTANT NOTE After the installation is completed I recommend to STOP Jenkins in the server (CTRL+C) and re-start using this command:
nohup java -jar jenkins.war httpPort=8080 &
Why? Because if not, when you stop your SSH Jenkins will stop!!!
To see the logs:
1
tail -f nohup.out
Now you can access the main screen of Jenkins in http://10.0.100.60:8080
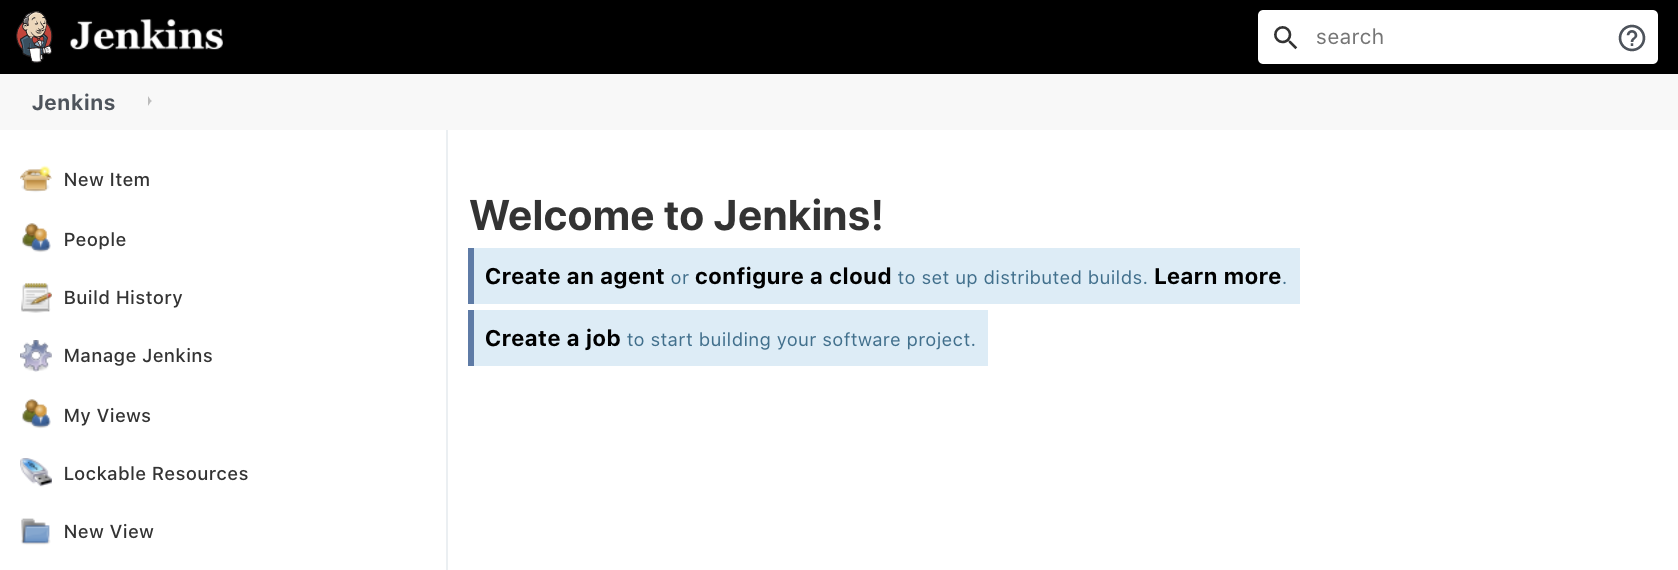 Initial Jenkins screen
A very good idea now will be, just before starting to create Jenkins stuff, to create a SNAPSHOT of your LightSail instance:
In LightSail Main page -> Select your instance -> Snapshots -> Create Snapshot
The process took for me like 5 minutes more or less, so grab a cup of coffee!!
Disclaimer
I prefer to use Github Actions 1000000 times before Jenkins, I only can see pro’s to Github Actions if I compare it with this setup or a similar (and more expensive) one.